Why I Installed Gentoo
- Processor: Intel Core i5 4th Gen (4 cores)
- RAM: 8GB
- Storage: 256GB SSD
I’ll be using the Minimal ISO because I like full control over my system, but if you prefer a GUI installer, that’s totally fine too!
Step 1: Grab the Gentoo ISO
Head over to Gentoo’s official website and download the ISO. You’ll see two options:
- GUI Installer (if you want an easier time)
- Minimal (CLI) Installer (if you want to go full pro mode)
For this guide, we’re going Minimal. Let’s get our hands dirty!
Step 2: Setting Up the Disk
Check your available disks:
lsblk
Partition your disk:
cfdisk /dev/sda
Format the partitions:
mkfs.fat -F 32 /dev/sda1
mkfs.ext4 /dev/sda2
Mount the partitions:
mount /dev/sda2 /mnt/gentoo
mkdir -p /mnt/gentoo/boot
mount /dev/sda1 /mnt/gentoo/boot
Step 3: Getting Stage 3 Ready
Download the latest Stage 3 tarball:
links https://www.gentoo.org/downloads/mirrors/
Extract it:
tar xpvf stage3-*.tar.xz --xattrs-include='*.*' --numeric-owner -C /mnt/gentoo
Copy your network settings:
cp --dereference /etc/resolv.conf /mnt/gentoo/etc/
Step 4: Mounting System Directories
mount -t proc /proc /mnt/gentoo/proc
mount --rbind /sys /mnt/gentoo/sys
mount --make-rslave /mnt/gentoo/sys
mount --rbind /dev /mnt/gentoo/dev
mount --make-rslave /mnt/gentoo/dev
Step 5: Entering the Gentoo World
chroot /mnt/gentoo /bin/bash
source /etc/profile
export PS1="(chroot) ${PS1}"
Boom! You’re now inside Gentoo. Feels good, right?
Step 6: Syncing and Configuring the System
First, sync the package manager:
emerge --sync
Pick a profile:
eselect profile list
eselect profile set 23  # Choose whatever fits your needs
Tweak your make.conf file:
nano /etc/portage/make.conf
Example settings:
COMMON_FLAGS="-march=native -O2 -pipe"
Update everything:
emerge --sync
emerge -vuDN @world  # Grab a coffee, this takes a while (12hrs for me)
Clean up the mess:
emerge --depclean
Set up pinentry:
eselect pinentry set pinentry-gnome3
Step 7: Installing Kernel
emerge -v =sys-kernel/gentoo-sources-6.12.16
emerge sys-boot/grub app-admin/sysklogd sys-process/cronie app-admin/sudo app-misc/neofetch
Grant necessary permissions:
echo "sys-kernel/linux-firmware linux-fw-redistributable" >> /etc/portage/package.license
Install Genkernel:
emerge sys-kernel/genkernel
ln -sf /usr/src/linux-6.12.16-gentoo /usr/src/linux
genkernel all
Step 8: Fstab Configuration
Edit /etc/fstab:
nano /etc/fstab
Set up your partitions with UUIDs (find them using blkid):
UUID=<your-root-uuid>   /               ext4    defaults    1 1
UUID=<your-boot-uuid>   /boot   vfat    defaults    1 2
Test it:
mount -a
Step 9: Installing and Configuring the Bootloader
grub-install --target=x86_64-efi --efi-directory=/boot --bootloader-id=Gentoo
grub-mkconfig -o /boot/grub/grub.cfg
Set your hostname:
echo "gentoo" > /etc/hostname
Set a root password:
passwd
Step 10: Creating a User Account
Create a user:
groupadd mail
mkdir -p /var/spool/mail
touch /var/spool/mail/yourusername
chmod 660 /var/spool/mail/yourusername
useradd -m -G mail -s /bin/bash yourusername
passwd yourusername
chown yourusername:mail /var/spool/mail/yourusername
Give them sudo access:
EDITOR=nano visudo
Uncomment this line:
%wheel ALL=(ALL:ALL) ALL
Set up their home directory:
mkdir -p /home/yourusername
chown yourusername:users /home/yourusername
chmod 700 /home/yourusername
Test your new user:
su - yourusername
exit # exit from your new user
Step 11: Enabling Important Services
rc-update add sysklogd default
rc-update add cronie default
Step 12: Final Steps and Reboot
Exit chroot and unmount everything:
exit
umount -l /mnt/gentoo/dev{/shm,/pts,}
umount -R /mnt/gentoo
or
umount -l /mnt/gentoo # if the drive is busy
And finally, the moment of truth:
reboot
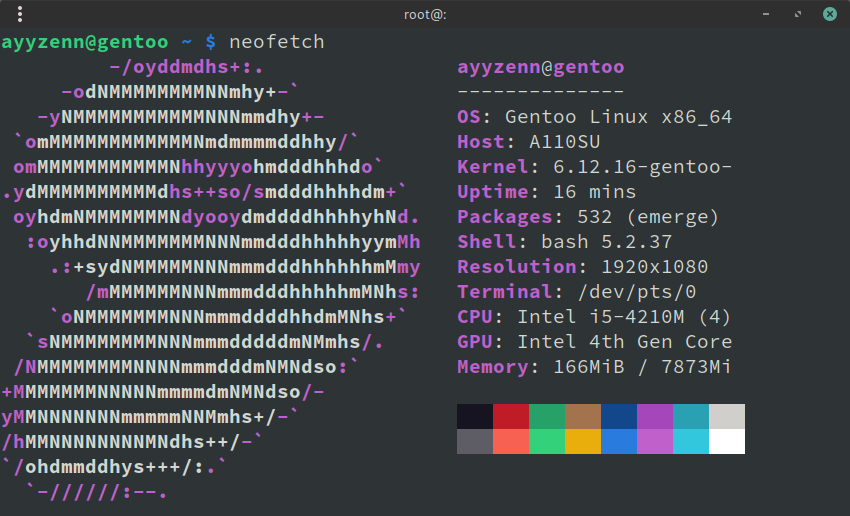
Conclusion
Congratulations! You just installed Gentoo Linux from scratch. Enjoy your custom-built system.
If you hit any snags, check the Gentoo Handbook or the forums.